第三方工具接入
EasyClaw
步骤一: 在模型API服务中创建API Key
1. 打开 模型API 服务页面。
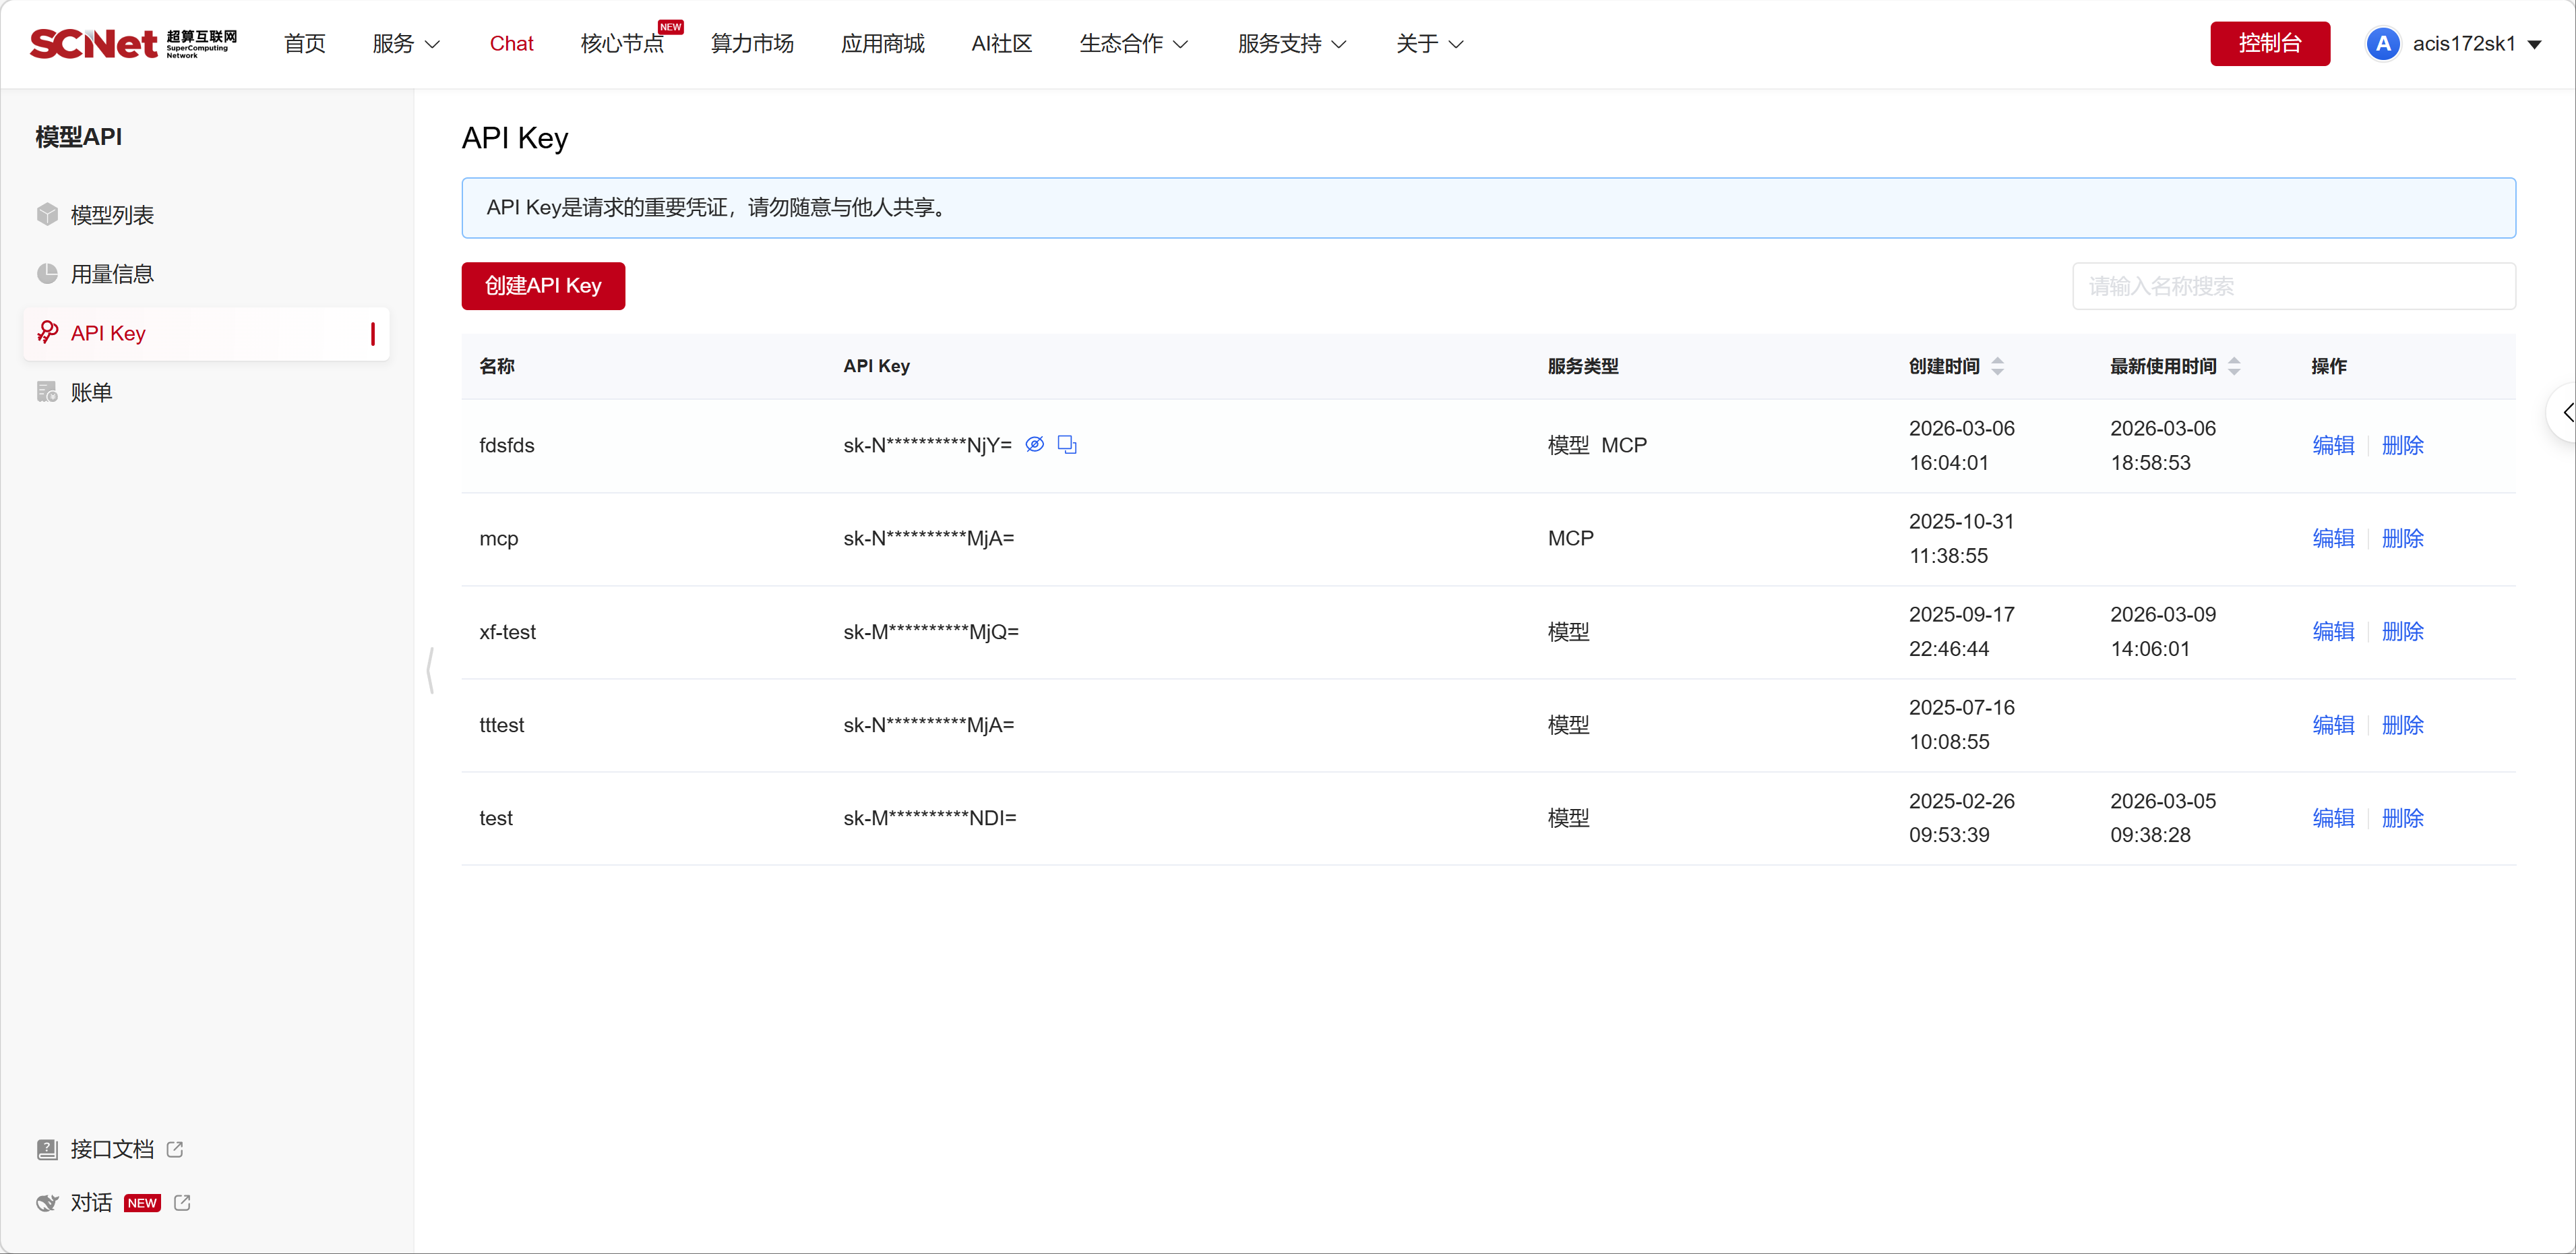
2. 创建API Key。
:服务类型请选择模型。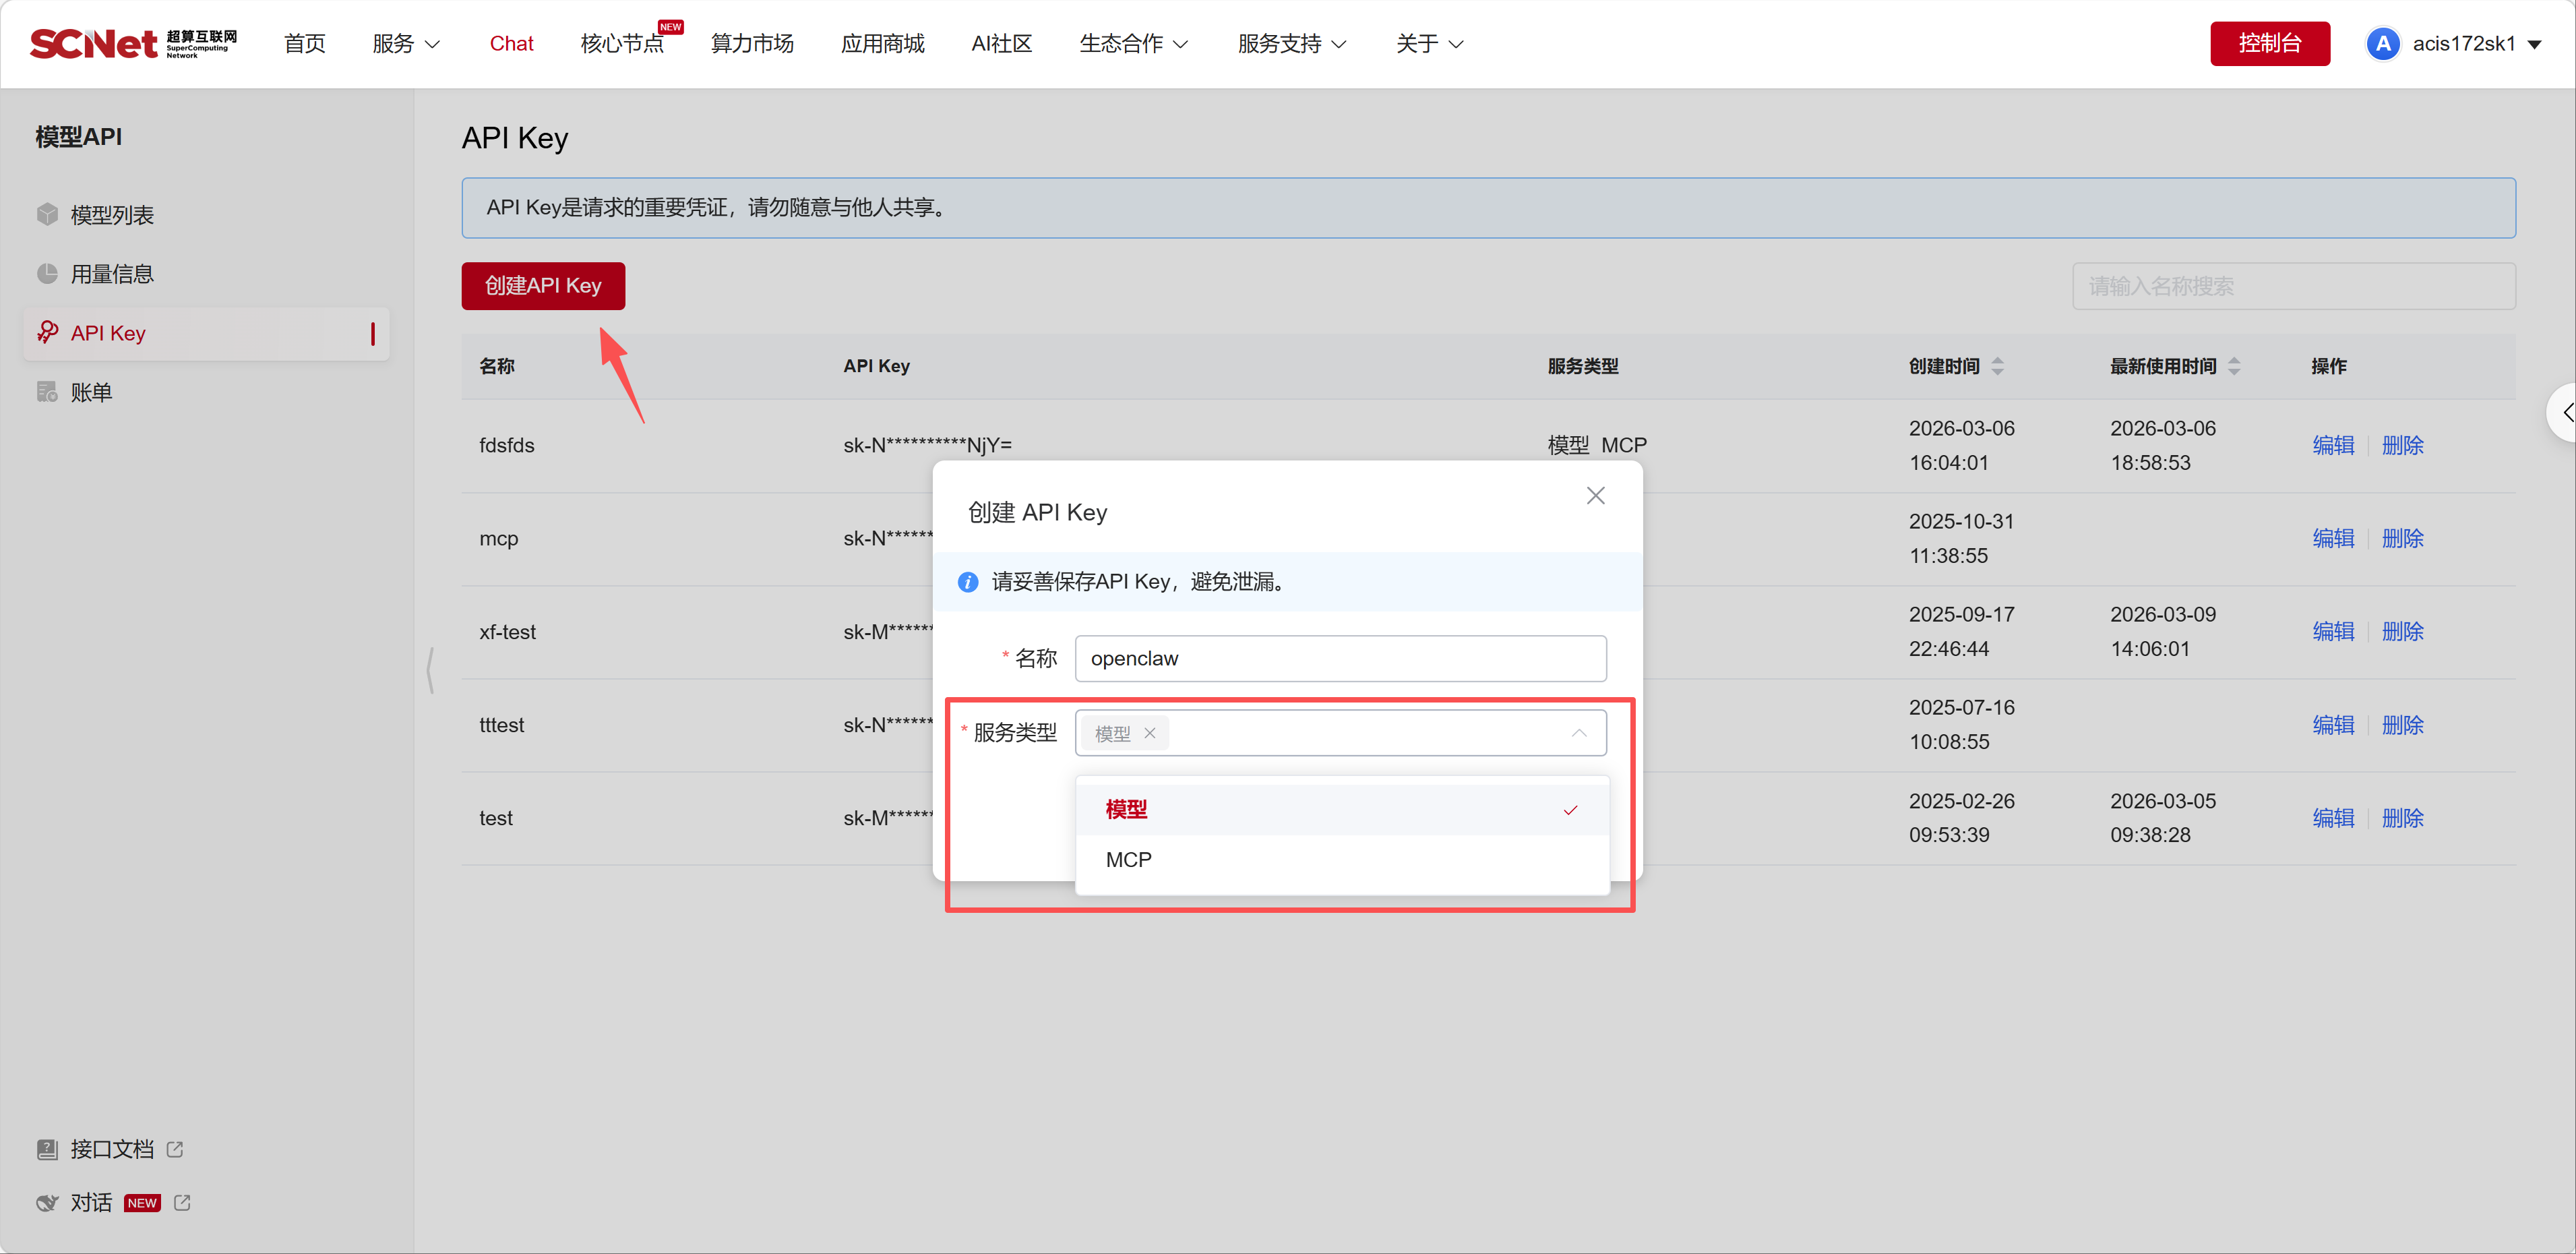
3. 复制保存API Key。
点击复制,并将它们保存到安全的地方(例如记事本)。

步骤二:EasyClaw配置SCNet模型API
配置文件位置
配置文件路径:
<EasyClaw安装目录>\resources\cfmind\data\config\easyclaw.json例如:
- Windows:
C:\Program Files\EasyClaw\resources\cfmind\data\config\easyclaw.json - macOS:
/Applications/EasyClaw.app/Contents/Resources/cfmind/data/config/easyclaw.json
注意:只需要修改 easyclaw.json 这一个文件即可。
配置步骤
1. 关闭应用
修改配置前必须完全关闭 EasyClaw 应用:
- 关闭所有 EasyClaw 窗口
- 退出系统托盘中的应用
- 确保后台服务已停止
2. 编辑配置文件
使用文本编辑器打开 easyclaw.json 文件。
3. 添加提供商配置
在 models.providers 对象中添加您的第三方服务配置。
找到以下位置:
json
{
  "models": {
    "mode": "replace",
    "providers": {
// 在这里添加新的提供商添加您的配置:
json
"scnet": {
  "baseUrl": "https://api.scnet.cn/api/llm/v1",
  "apiKey": "sk-xxxxxxxxxxxxxxxx",
  "models": [
    {
      "id": "MiniMax-M2.5",
      "name": "MiniMax-M2.5",
      "api": "openai-completions",
      "reasoning": false,
      "input": ["text"],
      "cost": {
        "input": 0,
        "output": 0,
        "cacheRead": 0,
        "cacheWrite": 0
      },
      "contextWindow": 200000,
      "maxTokens": 50000,
      "compat": {
        "supportsDeveloperRole": false,
        "supportsStore": false
      }
    }
  ]
},重要说明:
baseUrl: API 基础地址,不要包含/chat/completions路径apiKey: 您的 API 密钥id: 模型 ID,与 API 请求中的 model 字段一致name: 模型名称input: 支持的输入类型,["text"]或["text", "image"]contextWindow: 上下文窗口大小maxTokens: 最大输出 tokens
4. 注册模型到界面
在 agents.defaults.models 对象中注册模型,使其显示在界面上。
找到以下位置:
json
{
  "agents": {
    "defaults": {
      "models": {
// 在这里添加模型注册添加您的模型:
json
"scnet/MiniMax-M2.5": {
  "alias": "scnet.scnet-minimax-m2.5",
  "easyclawSpeedMultiplier": "1x",
  "easyclawSpeedMultiplierTip": "该值表示模型成本。以基础模型 1x 为基准,倍率越高,模型成本越高。"
}重要说明:
- 键名格式:
提供商名称/模型ID(如scnet/MiniMax-M2.5) alias: 界面显示名称,建议格式提供商.模型名称(如scnet.scnet-minimax-m2.5)easyclawSpeedMultiplier: 成本倍率,常见值0.6x、1x、1.8x、2.5x
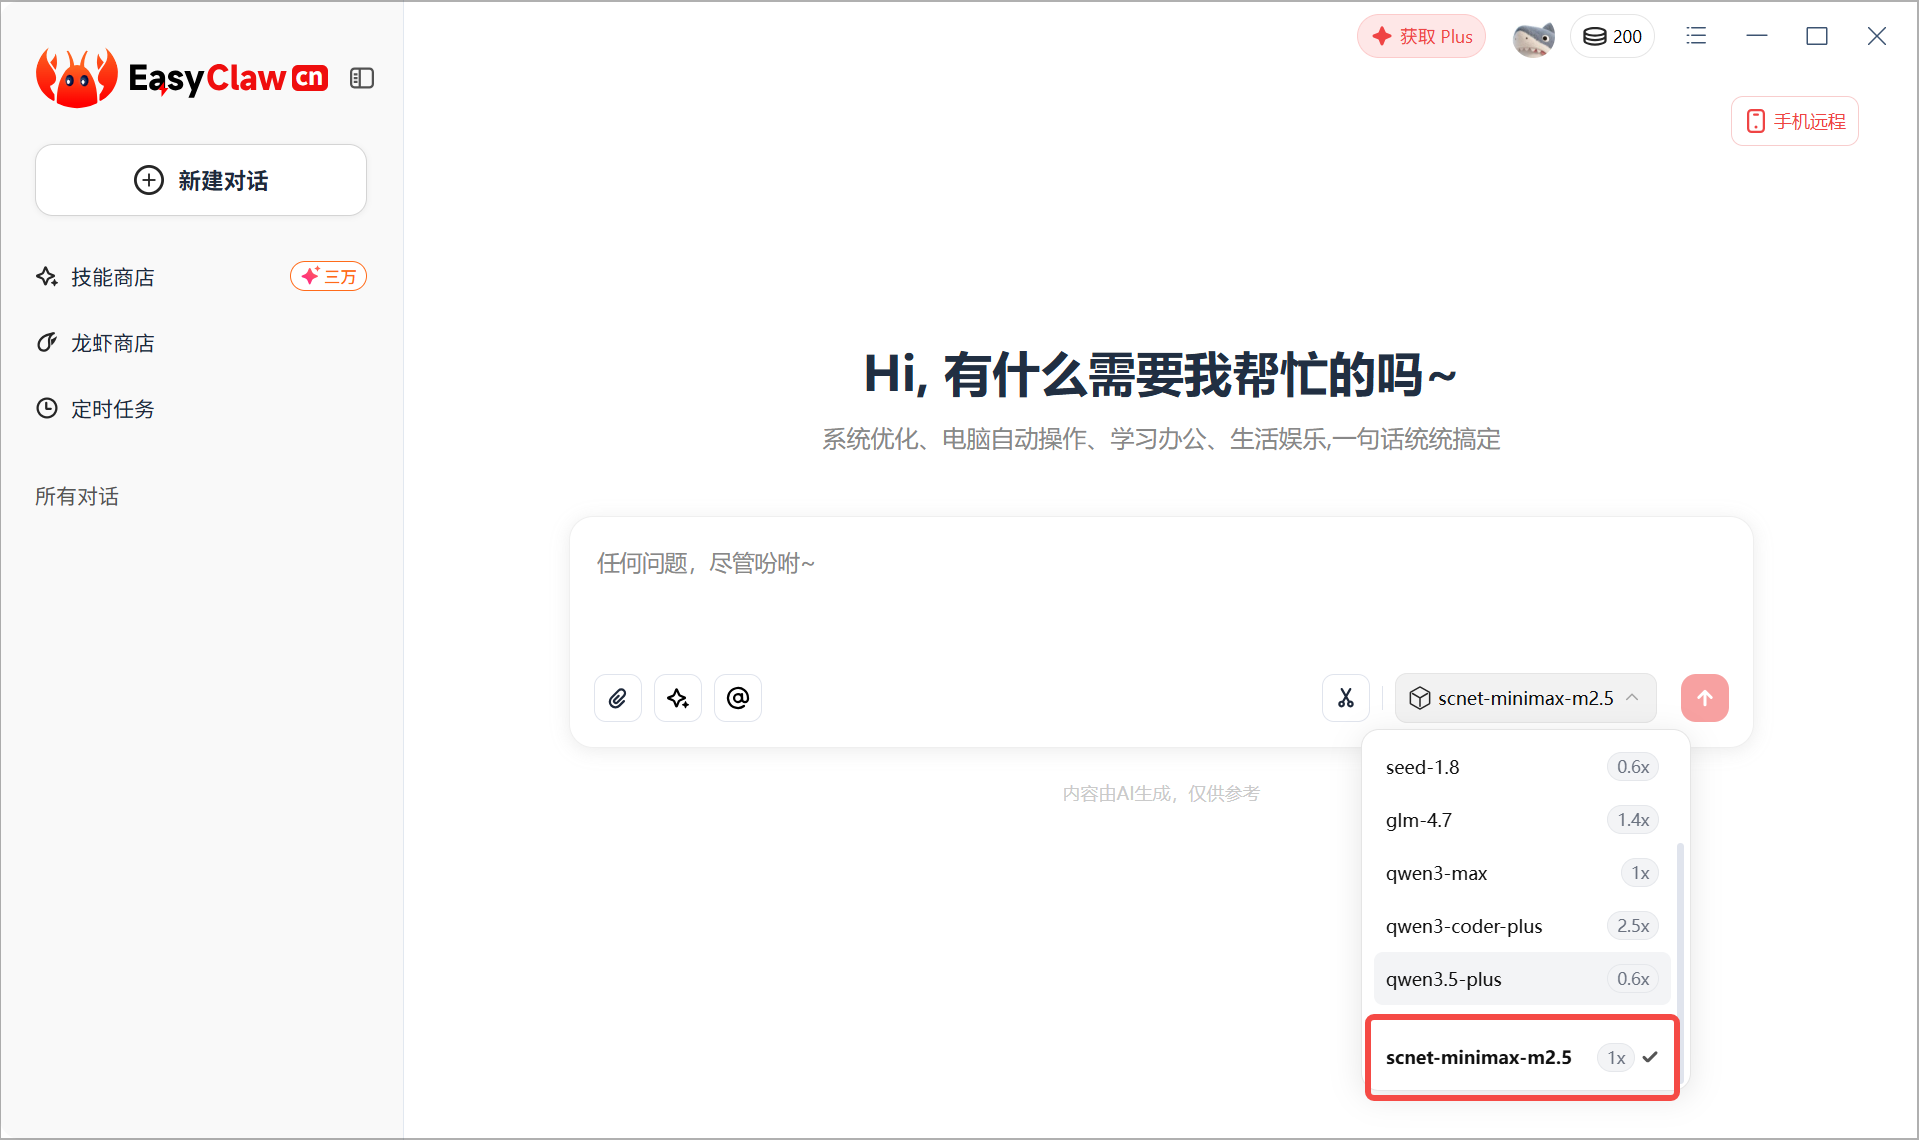
5. 保存并重启
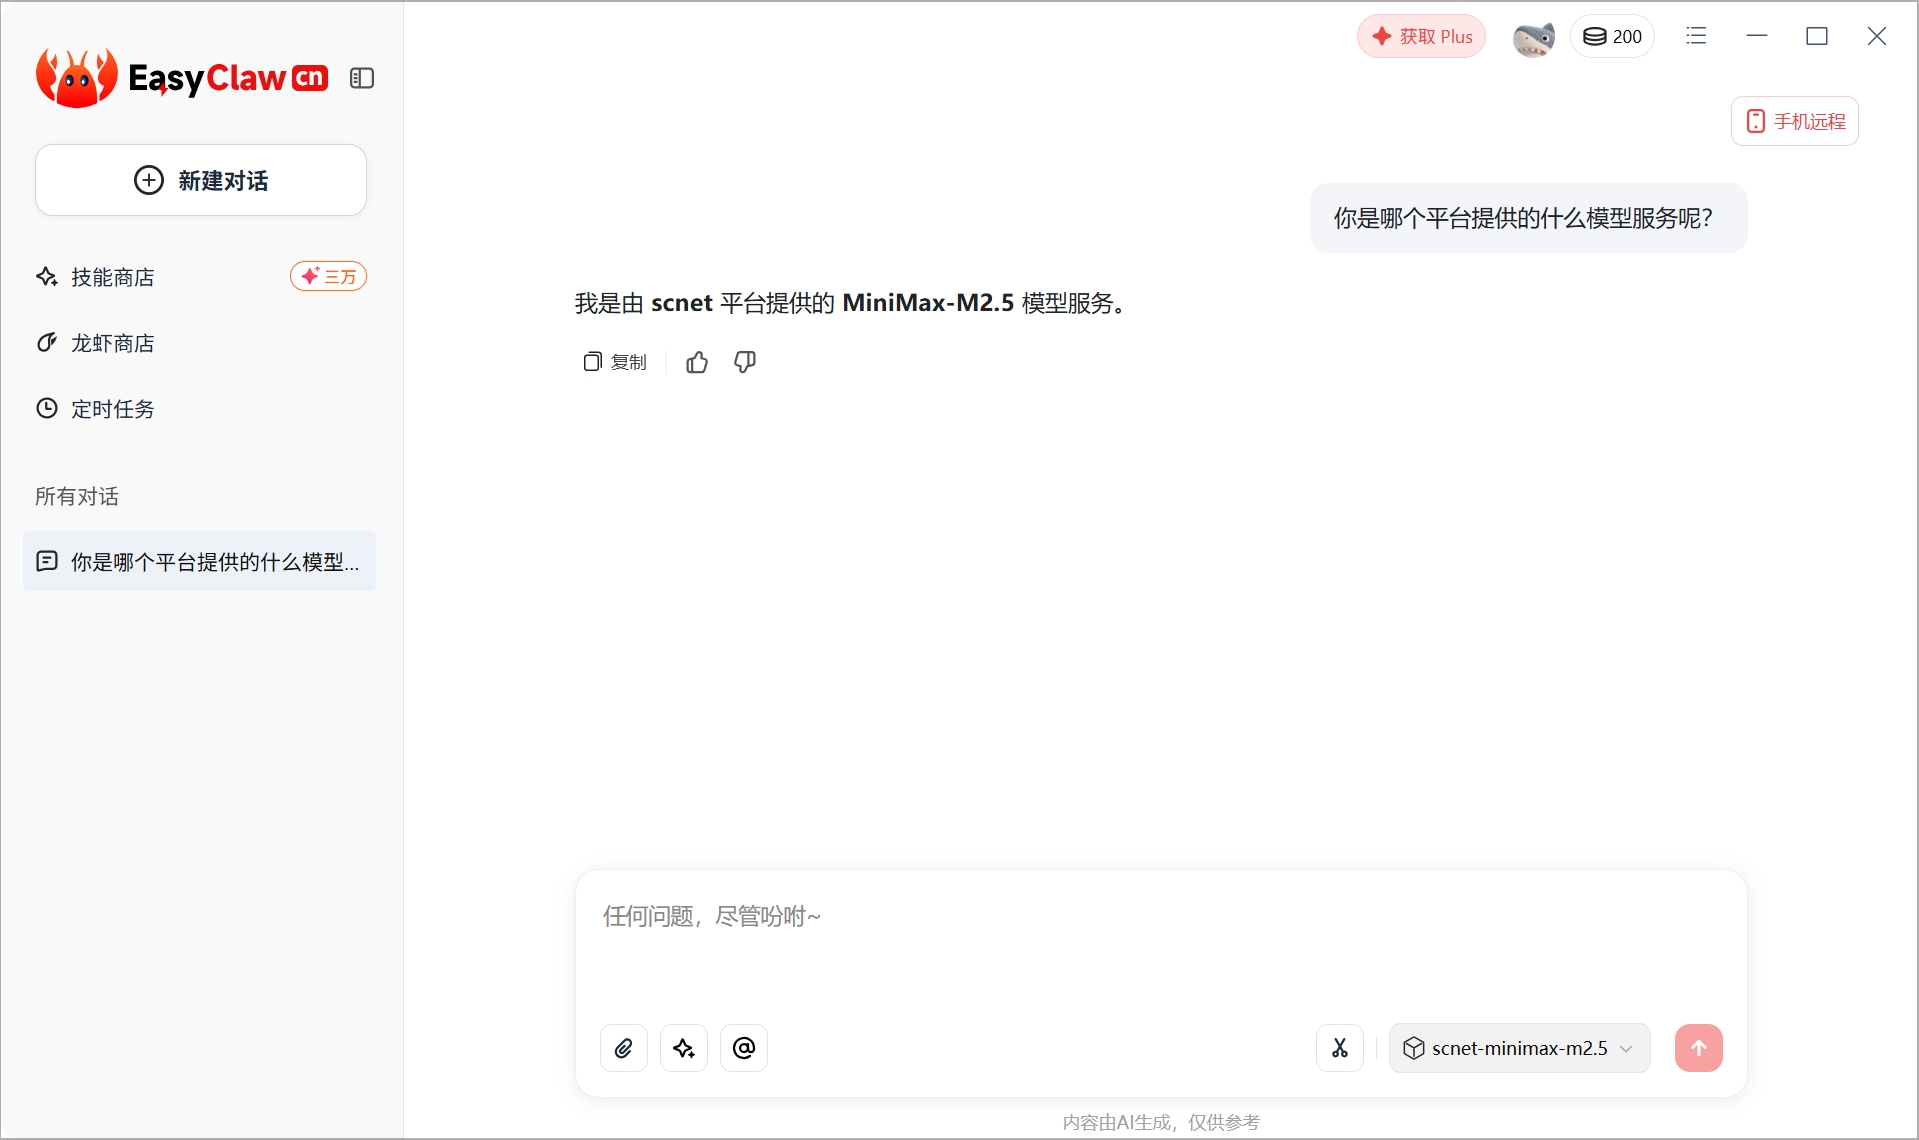
保存配置文件后,重启 EasyClaw 应用即可在模型选择器中看到新添加的模型,即可开始对话
配置示例
以下是一个完整的配置示例:
json
{
  "models": {
    "mode": "replace",
    "providers": {
      "scnet": {
        "baseUrl": "https://api.scnet.cn/api/llm/v1",
        "apiKey": "sk-xxxxxxxxxxxxxxxx",
        "models": [
          {
            "id": "MiniMax-M2.5",
            "name": "MiniMax-M2.5",
            "api": "openai-completions",
            "reasoning": false,
            "input": ["text"],
            "cost": {
              "input": 0,
              "output": 0,
              "cacheRead": 0,
              "cacheWrite": 0
            },
            "contextWindow": 200000,
            "maxTokens": 50000,
            "compat": {
              "supportsDeveloperRole": false,
              "supportsStore": false
            }
          }
        ]
      },
      "easyclaw": {
        // 原有配置保持不变
      }
    }
  },
  "agents": {
    "defaults": {
      "models": {
        "scnet/MiniMax-M2.5": {
          "alias": "scnet.scnet-minimax-m2.5",
          "easyclawSpeedMultiplier": "1x",
          "easyclawSpeedMultiplierTip": "该值表示模型成本。以基础模型 1x 为基准,倍率越高,模型成本越高。"
        }
      }
    }
  }
}添加多个模型
如需在同一提供商下添加多个模型:
json
"scnet": {
  "baseUrl": "https://api.scnet.cn/api/llm/v1",
  "apiKey": "sk-xxxxxxxxxxxxxxxx",
  "models": [
    {
      "id": "MiniMax-M2.5",
      "name": "MiniMax-M2.5",
      ...
    },
    {
      "id": "another-model",
      "name": "Another Model",
      ...
    }
  ]
}然后在 agents.defaults.models 中分别注册:
json
"scnet/MiniMax-M2.5": {
  "alias": "scnet.scnet-minimax-m2.5",
  "easyclawSpeedMultiplier": "1x",
  "easyclawSpeedMultiplierTip": "该值表示模型成本。以基础模型 1x 为基准,倍率越高,模型成本越高。"
},
"scnet/another-model": {
  "alias": "scnet.another-model",
  "easyclawSpeedMultiplier": "1.8x",
  "easyclawSpeedMultiplierTip": "该值表示模型成本。以基础模型 1x 为基准,倍率越高,模型成本越高。"
}